
Writing applications on the reMarkable is remarkably straightforward. You've got quite a few frameworks to pick from. Qt through the official SDK, ReMarkable.NET if you like .NET languages, libremarkable for Rust, and SAS for simple scripting.
In this tutorial I'll be walking you through how to create a simple application using SAS. This can easily be ported to Bash or any other scripting language. The application will also show some simple usage of the API provided by Oxide.
Setup
The first thing you'll need to do is install toltec. I've written the following tutorial to walk you through getting it installed:
 Nathaniel van Diepen
This tutorial also assumes that you have Oxide installed and setup as your system launcher:
 Eeems
Eeems
After installing toltec and setting up Oxide, you'll need to install simple. SSH into your reMarkable and run the following command:
opkg install simpleIf you are using a reMarkable 2, you will also need to install rm2fb:
opkg install displayRegistering the application
In order to launch the application from Oxide, you'll need to register it with the launcher. This can be accomplished by running the following over SSH on your reMarkable:
rot apps call registerApplication 'QVariantMap:{"name": "test", "bin": "/home/root/test.sh"}'This call registers a new application called test, that will run /home/root/test.sh when it's launched.
Hello World
The next thing you'll need to do is create the script and make it executable. You can do this by running the following over SSH on your reMarkable:
touch /home/root/test.sh
chmod +x /home/root/test.sh
Now you are ready to start creating the application. Open /home/root/test.sh on your reMarkable with your text editor of choice. You can populate the script with the following as the bare minimum needed to display a hello world message:
#!/bin/bash
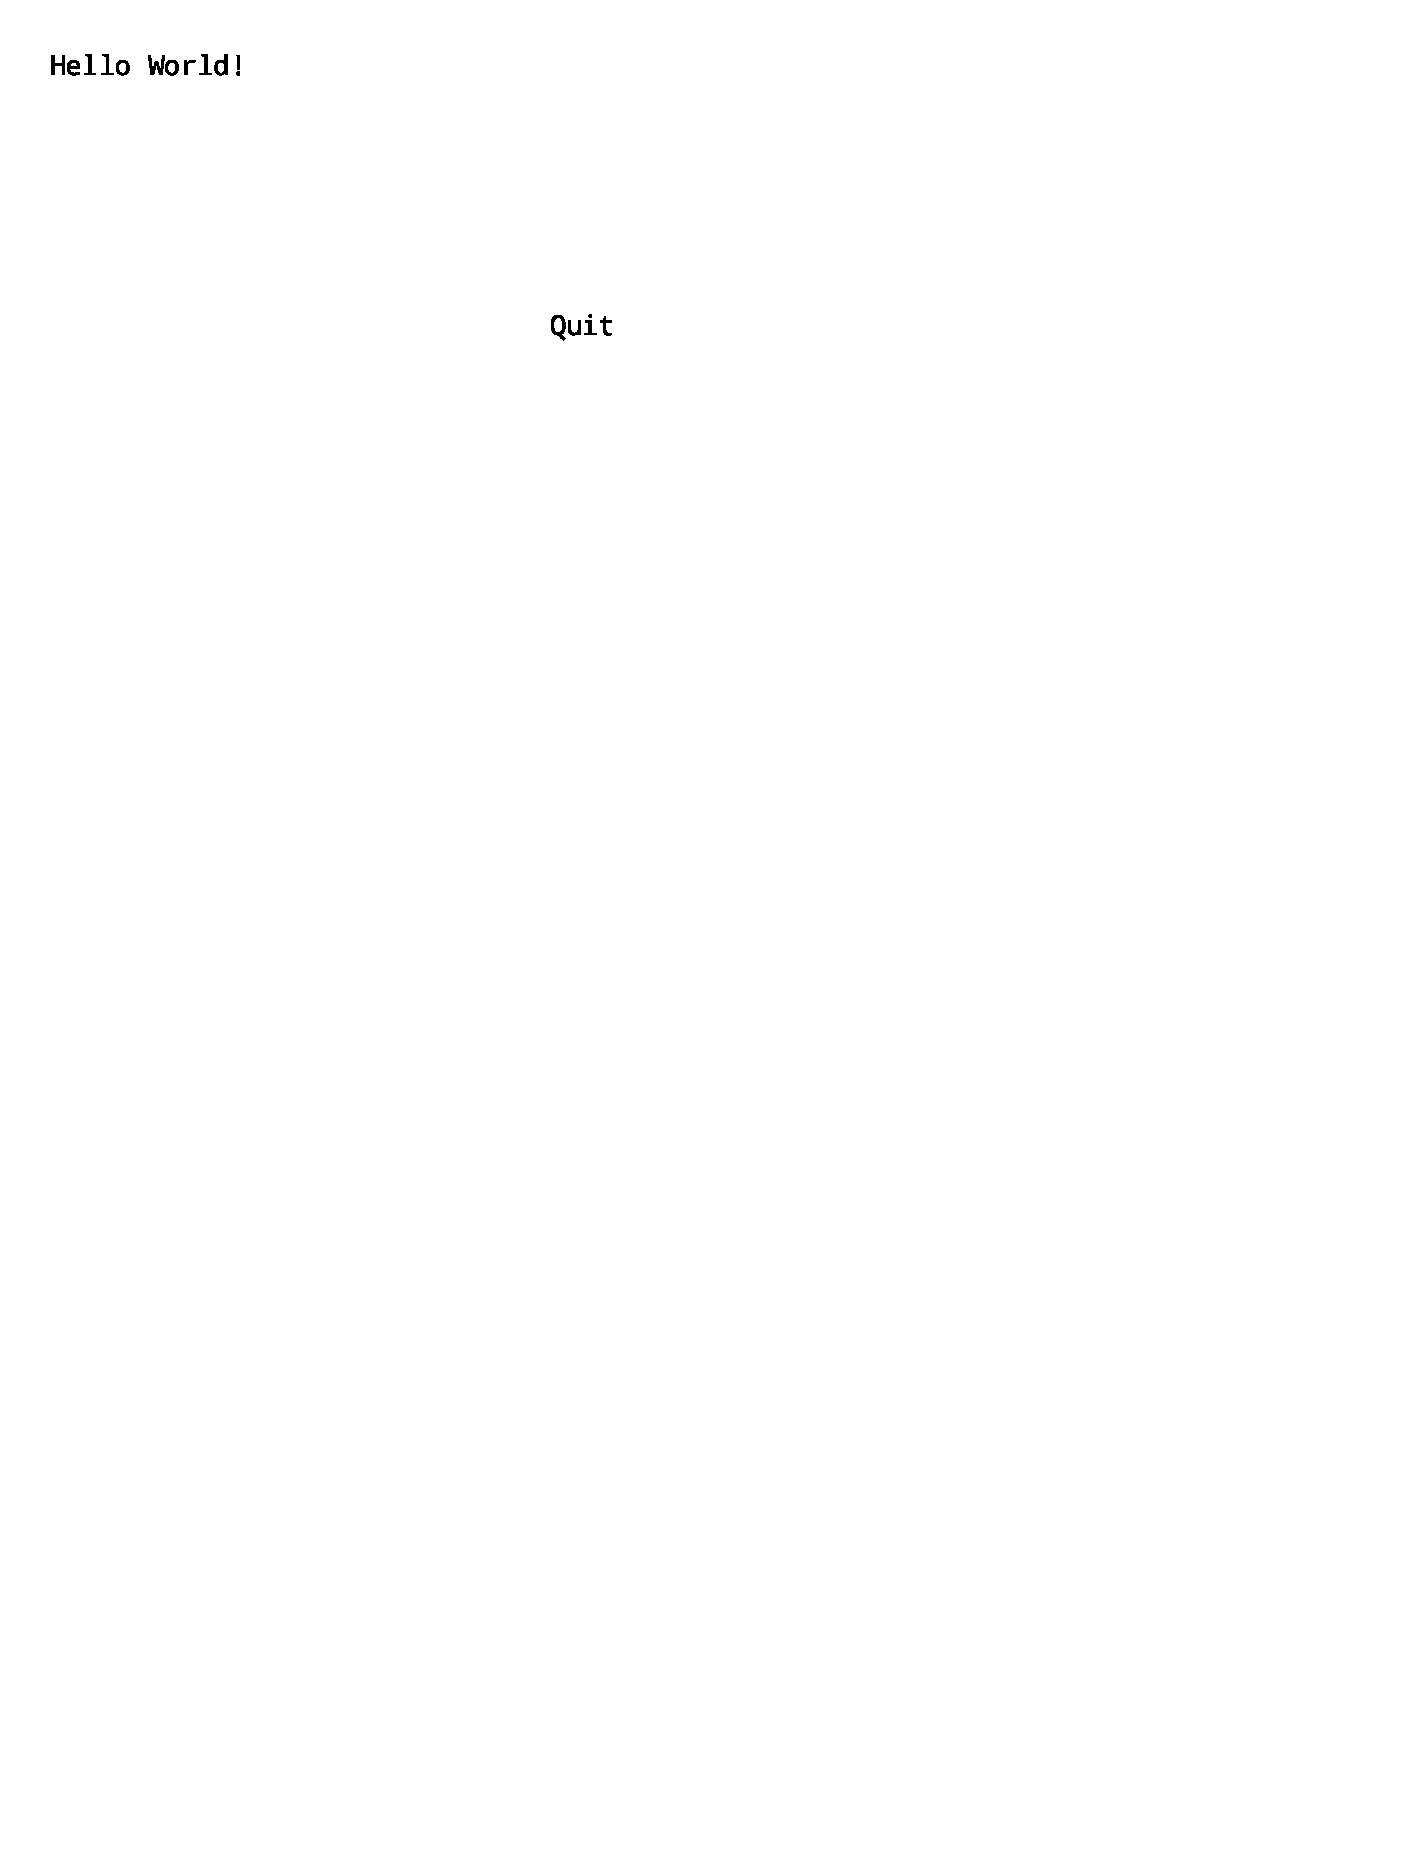
echo "label 50 50 100 50 Hello World!" | /opt/bin/simpleSo How does this work?
The basic premise of SAS is that you pass it a simple definition of what needs to be displayed on the screen. It will then wait until the user interacts with the screen and then return.
In our sample we've instructed it to create a label at the coordinates of 50, 50 on the screen. The label is 100 pixels wide, and 50 pixels tall. The text of the label is "Hello World!".

Adding some helper functions
While it's fairly straight forward to pass through a UI definition to SAS, it doesn't hurt to make our script even more human-readable.
reset(){
  SCENE=("@fontsize 32")
}
add(){
  echo "Adding: @$*"
  SCENE+=("@$*")
}
ui(){
  echo "Adding: $*"
  SCENE+=("$*")
}
display(){
  IFS=$(echo -en "\n\b")
  script=$(for line in ${SCENE[@]}; do echo $line; done)
  IFS=" "
  RESULT=$(echo ${script} | /opt/bin/simple)
}
This provides us with some helper functions to make it easier to define the UI.
reset
Reset is called to clear the current UI definition. You can add whatever standard UI setup you want to it. In our case we are setting the font size to 32.
add
Add is used to add directives to the UI. This can be used to do things like change text justification, or size.
ui
Ui is used to add widgets to the UI.
display
After building the UI, we still need to display it using SAS. Since we've been building an array of strings into the $SCENE variable, we first combine it into a single newline-delimited string variable. Then we pass it to /opt/bin/simple and capture the result into $RESULT. This is used to determine if a button has been pressed, and which button it was.
Building a basic display loop
Okay, so now we have some helper functions to make creating the UI easier. Now we need to put it together and create a simple display loop.
while :;do
  reset
  add justify left
  ui label 50 50 200 50 Hello World!
  ui button 550 300 100 50 Quit
  display
  button="$(echo "${RESULT}" | sed 's/^selected:\s*//; s/\s* -.*$//' | xargs)"
  if [[ $button == "Quit" ]];then
    break
  fi
done
We've created an infinite loop that displays "Hello World!" and a button with the text "Quit". When you press the button the application will exit.
So how did you handle the button?
So the first thing we did was get the result returned by SAS when the screen is interacted with. Since the output of SAS looks like selected: Quit we need to parse out what the button text was. display stores the output to $RESULT which we can now work with. In our sample we simply pipe the result to sed and remove the selected: text from the output. Then we trim off any trailing text with xargs and store the result into the $button variable.
button="$(echo "${RESULT}" | sed 's/^selected:\s*//; s/\s* -.*$//' | xargs)"Now that we have the button text, all we need to do is to compare it to a known value, in this case "Quit". If it matches we can break out of the loop and the script will exit.
if [[ $button == "Quit" ]];then
  break
fi
Adding dynamic content
So this was simple, but doesn't really give you much ability to display dynamic information. So let's add the current date/time, and display the battery level to the screen.
Adding the date and time
All we need to do to add the date and time to our UI is to append it to the existing label:
ui label 50 50 200 50 Hello World! $(date)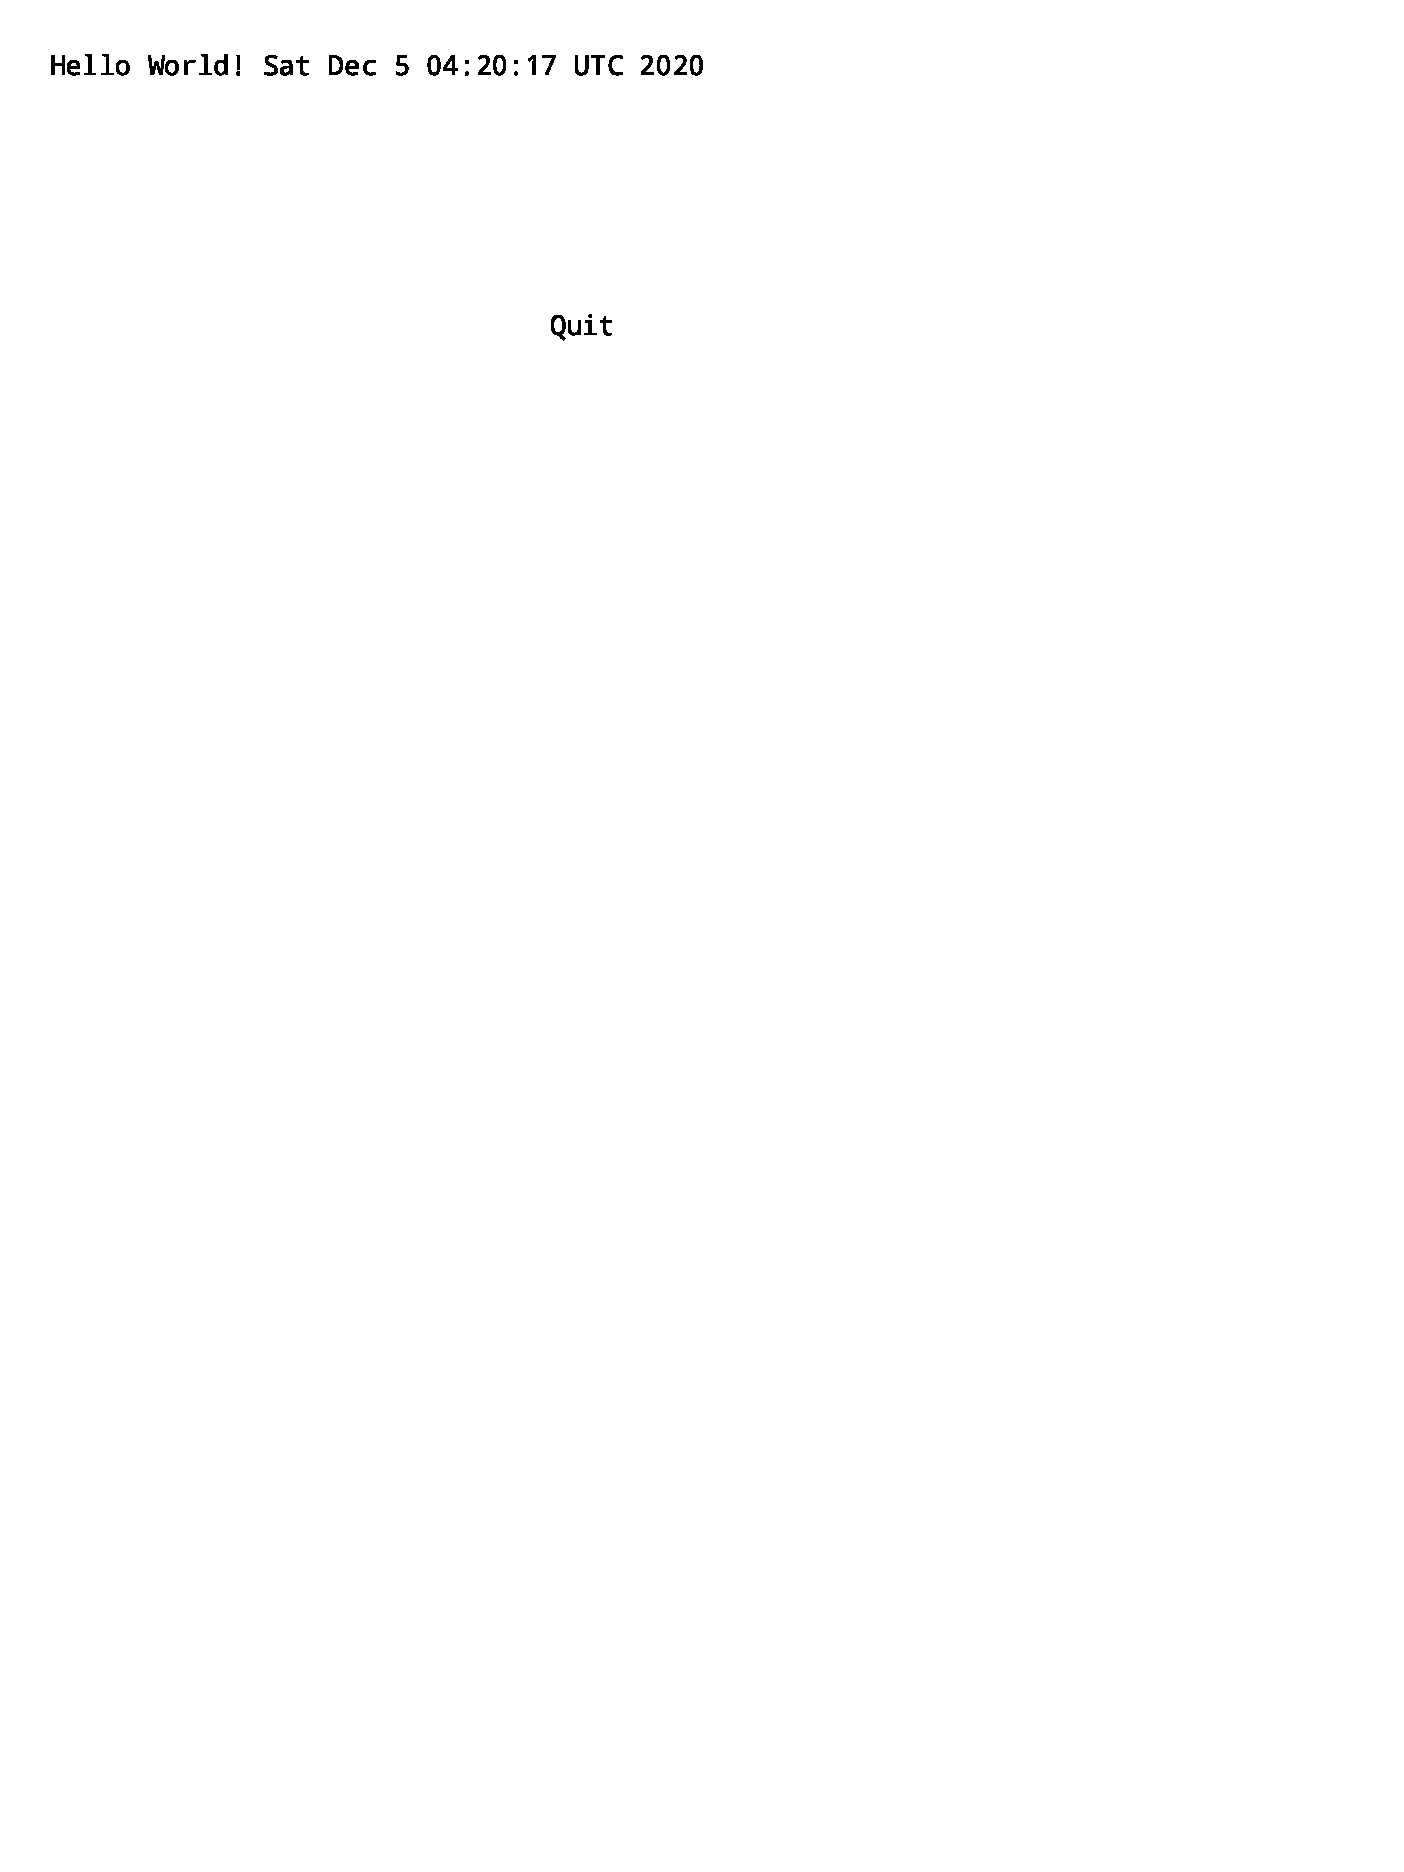
Adding the battery level
Oxide makes getting the battery level from a script very simple. While you could read directly from sysfs, and handle the different sysfs locations between the rM1 and the rM2, Oxide handles all of that for you and provides a simple call that will work no matter the device you are on.
/opt/bin/rot power get batteryLevelSo all you need to do is to add a call to ui to add a label to the screen with the battery percentage:
ui label same next 200 50 Battery: $(/opt/bin/rot power get batteryLevel)%Making it update
All we need to do to get the UI to start updating automatically is to add a timeout. This will tell SAS to return after X seconds of inactivity.
add timeout 1Adding in more buttons
Next lets add a button to take a screenshot.
Taking a screenshot
This is extremely easy to do through Oxide's API. All you need to do is run /opt/bin/rot screen call screenshot. It will return the text true if the screenshot succeeded, or false if something went wrong. So first we'll add a button to trigger this:
ui button 200 300 200 50 ScreenshotWe can also update the quit button to use relative positioning:
ui button next same 100 50 Quit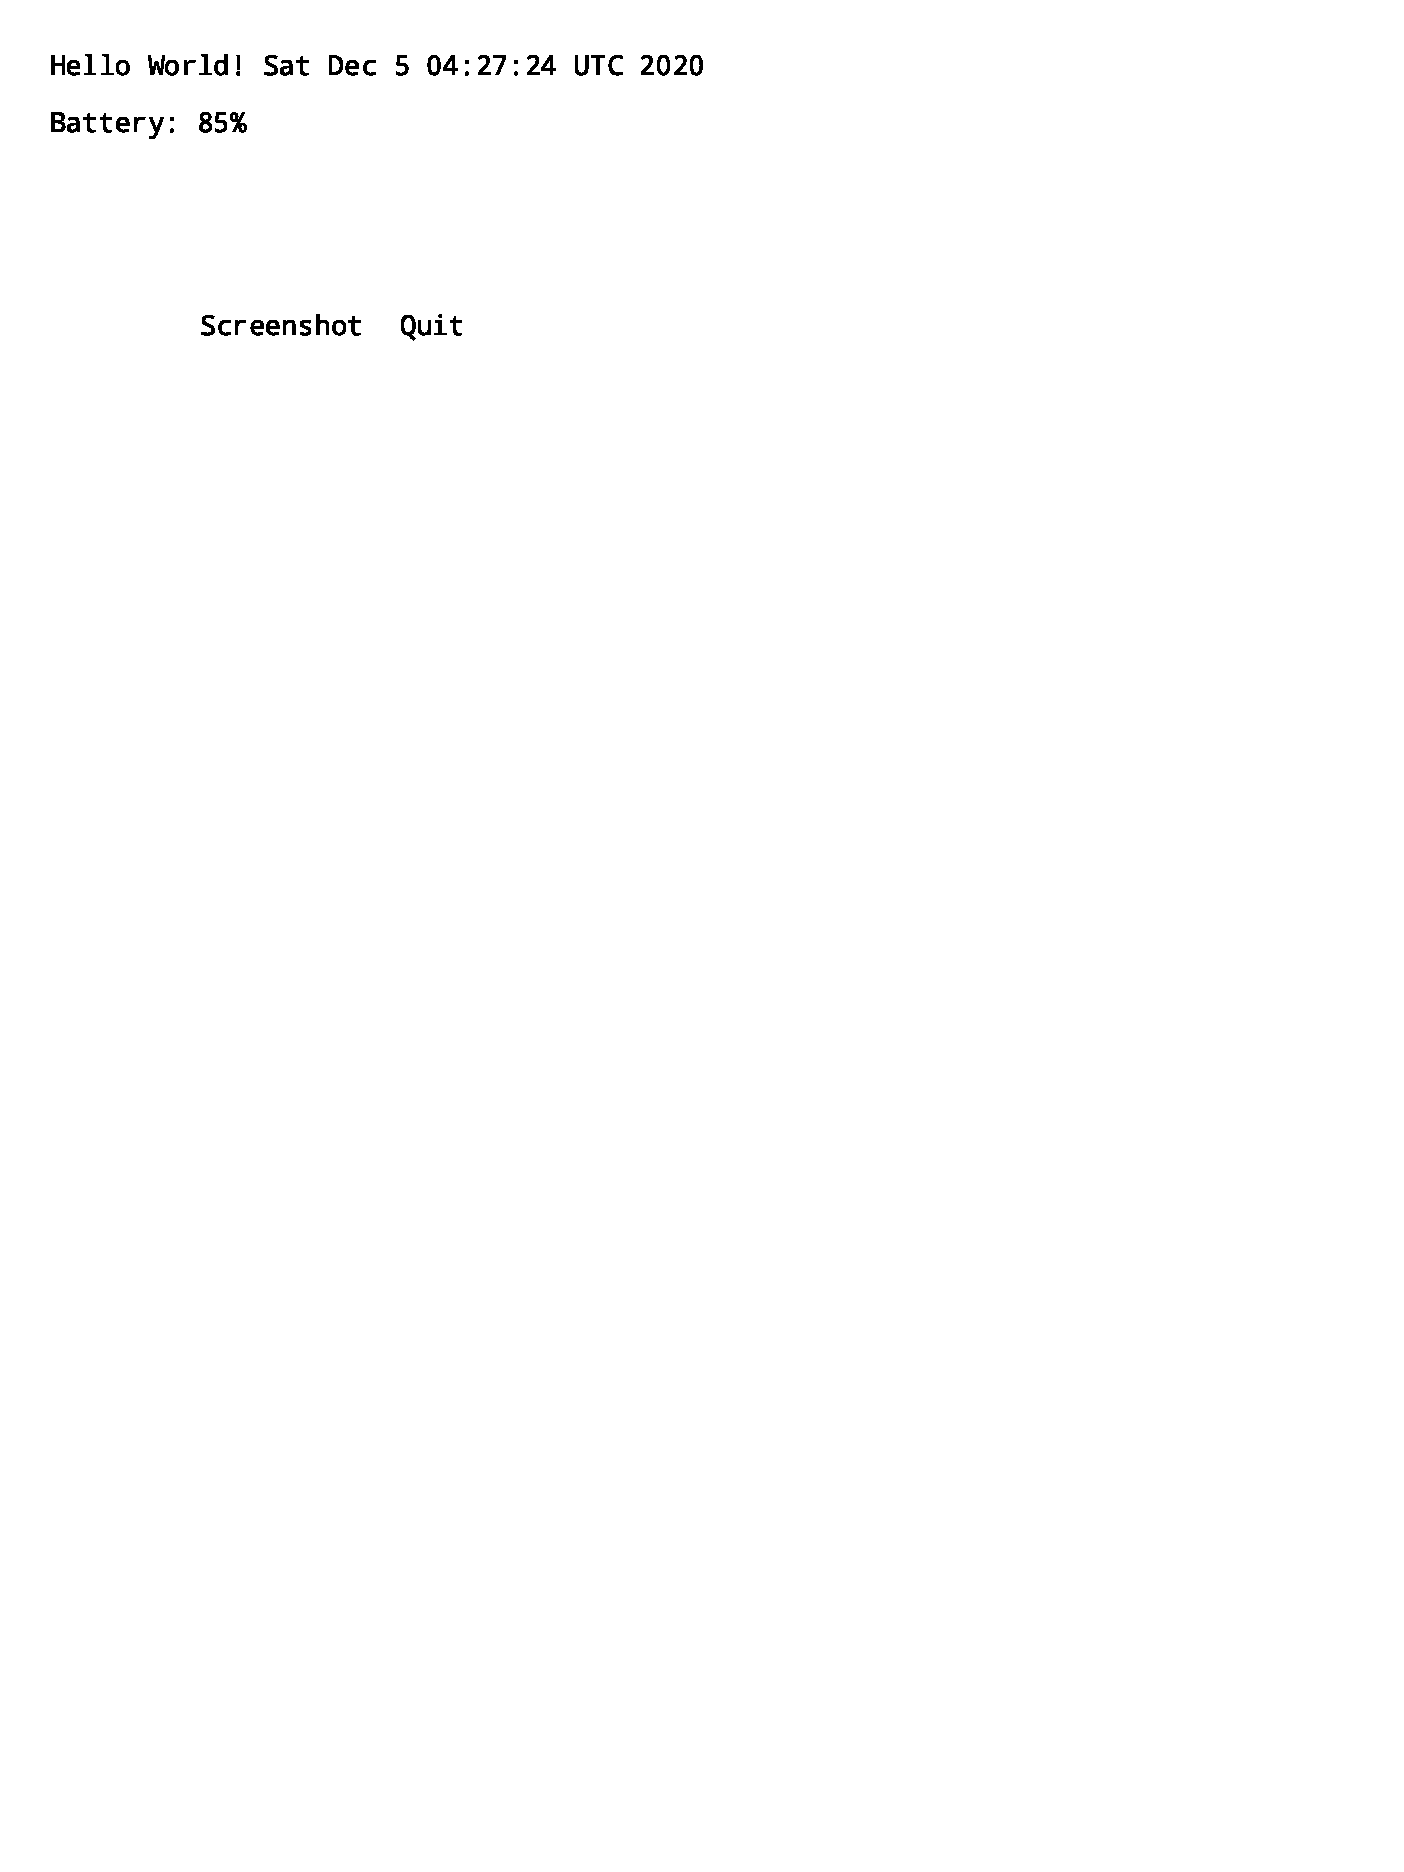
Now all that remains is to add a button handler. Since we've got more than one button type to check for, let's change the handler code to use a case statement instead of an if statement.
button="$(echo "${RESULT}" | sed 's/^selected:\s*//; s/\s* -.*$//' | xargs)"
case $button in
  Quit) break ;;
  Screenshot)
    if [[ "$(/opt/bin/rot screen call screenshot)" != "true" ]];then
      reset
      add timeout 2
      ui label 50 50 300 50 Failed to take screenshot
      display
    fi
  ;;
esac
Clearing the script on exit
It's not really necessary, but I tend to like to be tidy, so I like to clear the screen when exiting an application. A simple way to do this is to just display an empty screen quickly. This can easily be accomplished in our current framework:
echo "Exiting"
reset
add timeout 1
display
Full Script
#!/bin/bash

reset(){
  SCENE=("@fontsize 32")
}
add(){
  echo "Adding: @$*"
  SCENE+=("@$*")
}
ui(){
  echo "Adding: $*"
  SCENE+=("$*")
}
display(){
  IFS=$(echo -en "\n\b")
  script=$(for line in ${SCENE[@]}; do echo $line; done)
  IFS=" "
  RESULT=$(echo ${script} | /opt/bin/simple)
}

while :;do
  reset
  add justify left
  add timeout 1
  ui label 50 50 200 50 Hello World! $(date)
  ui label same next 200 50 Battery: $(/opt/bin/rot power get batteryLevel)%
  ui button 200 300 200 50 Screenshot
  ui button next same 100 50 Quit
  display
  button="$(echo "${RESULT}" | sed 's/^selected:\s*//; s/\s* -.*$//' | xargs)"
  case $button in
    Quit) break ;;
    Screenshot)
      if [[ "$(/opt/bin/rot screen call screenshot)" != "true" ]];then
        reset
        add timeout 2
        ui label 50 50 300 50 Failed to take screenshot
        display
      fi
     ;;
  esac
done
echo "Exiting"
reset
add timeout 1
display
Conclusion
Here's a bad recording of the end result:
Now go create your own reMarkable application and share it with the rest of the community!
 Reddit
 reHackable